Choose your viewer type
Set your role once and we will tailor the guidance across SIP University.
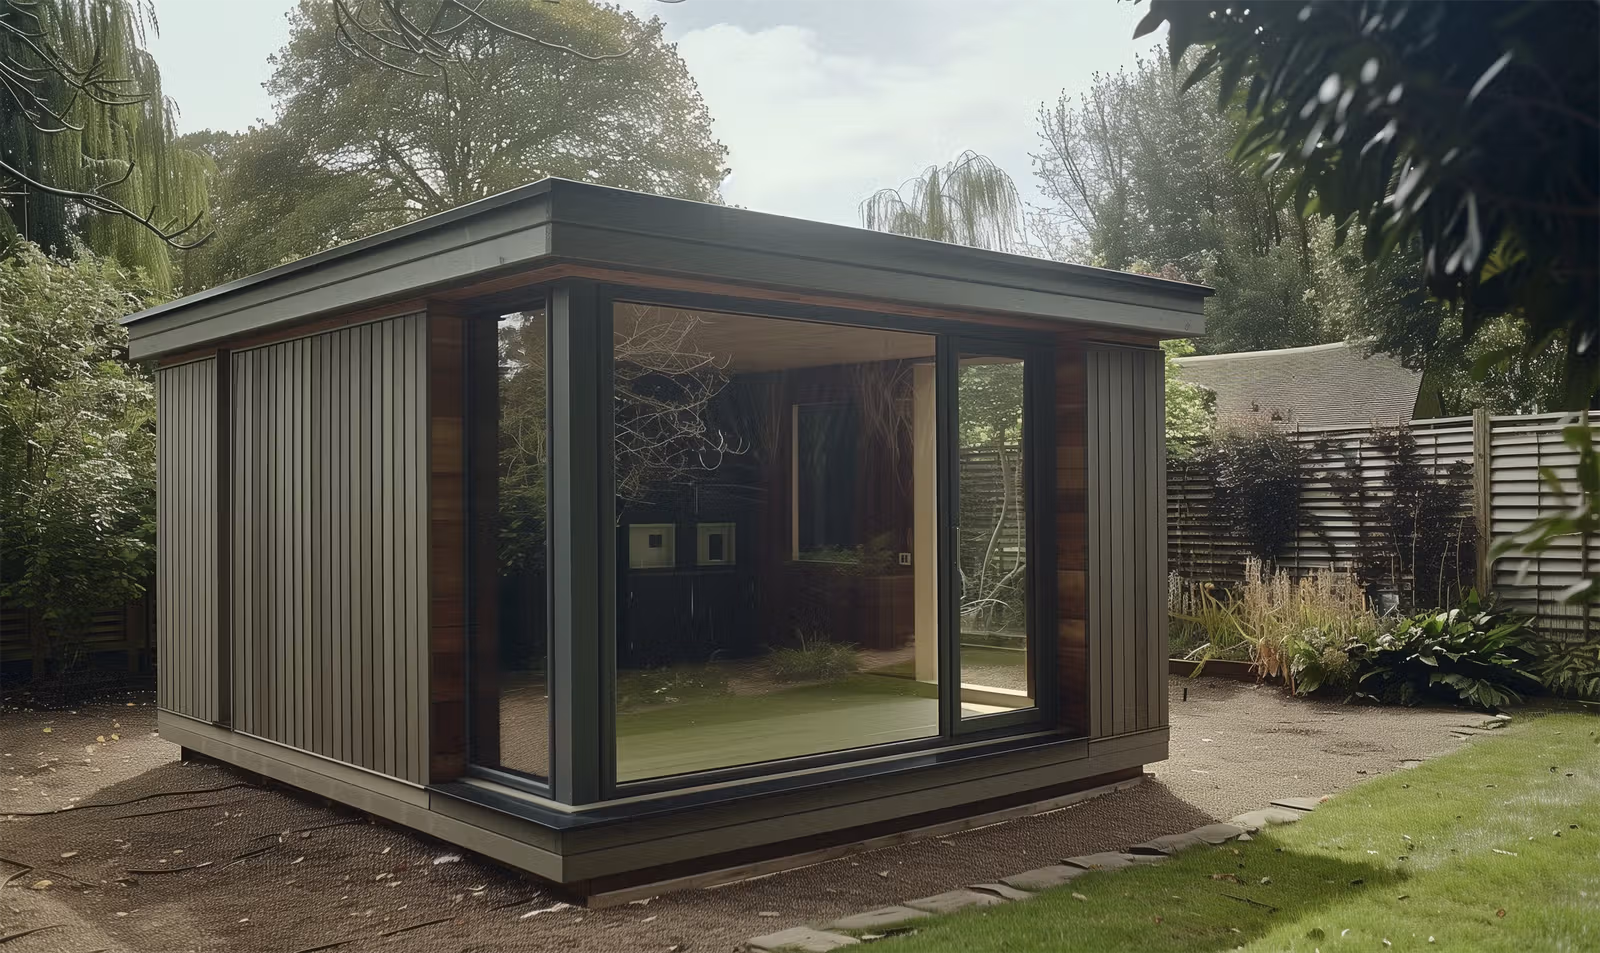
Finishes that protect
Poor flashing and missing cavities are where good SIP shells fail. When cladding is detailed with a ventilated cavity and every opening is flashed properly, the envelope stays dry and stable. UltraSIPS focuses on water-first detailing so the finish protects the structure.
Finishes protect the structure, and water ingress is the biggest long term risk.
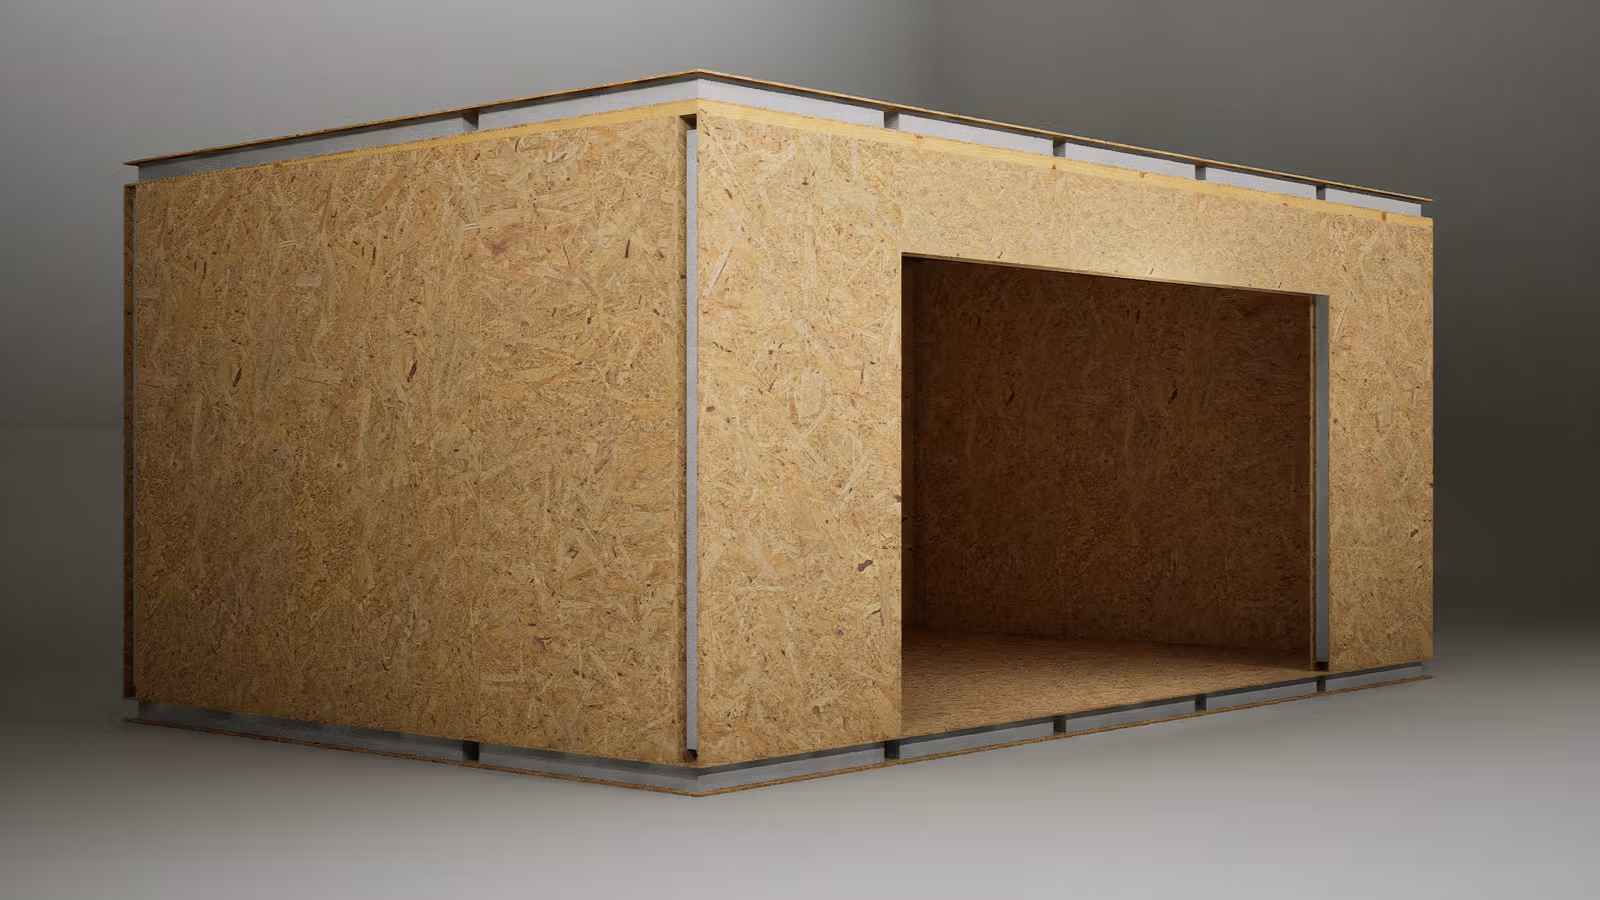
What covers the SIP envelope
Finishes are not just aesthetics. They are the layers that keep water out, control drying, and protect the panel edges.
Exterior cladding
Common SIP-compatible finishes include timber, composite, brick slips, and render. The key is a ventilated cavity to manage moisture.

Window and door installation
Openings should be flashed and sealed with the SIP envelope in mind. Use tapes and membranes that bond to OSB and the chosen finish.
Problems with interior finishes
If interior finishes trap moisture, the SIP core suffers. Avoid vapour-closed layers without a drying path.
Pocket outriggers and structural edges
Openings, canopies, and lintels often need reinforcement. Detail the outriggers and fixings clearly so loads transfer safely.
Roofing finishes
SIP roofs accept many finishes, but ventilation and waterproof layers must be detailed correctly. Pay attention to eaves, ridge, and flashing.
Specifying the fastening schedule
Fixings are structural, not cosmetic. Use the specified schedule to avoid squeaks, uplift issues, and warranty concerns.
Roof venting and ridge details
Roof venting prevents moisture build-up. Ridge details, including shingle ridging, must maintain airflow and keep water out.
Interior finishes
Plasterboard and service cavities often form the interior finish. This layer also contributes to fire resistance and airtightness.
Finish checklist
- Use a ventilated rain screen where appropriate.
- Detail flashing at every opening.
- Protect panel edges with trims or closures.
- Seal interior linings for airtightness.
- Follow the specified fixing schedule.
- Confirm roof venting paths.